Obviously, the first step to getting a new roof is noticing you need a new roof. If your roof is 15 years or older and starting to leak and rot, it may be time to reach out to a roofing specialist. After the specialist comes and checks out your roof, they will let you know their recommendation on what needs to be done. If just a repair needs to be made, great, but most of the time the whole roof needs to be replaced. This is the process…
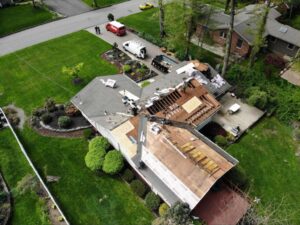
- PREPARATION: The second-most important thing to most homeowners during a construction job is CLEANLINESS! People want their property looking exactly the same as before the project, just with a new roof. Tarps should be placed around all bushes and flower beds as well as any other delicate/expensive things. Protecting these areas from construction debris is the first key step.
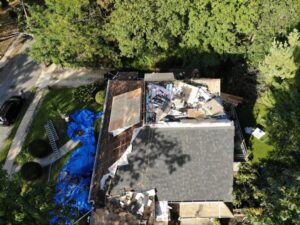
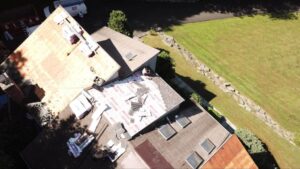
- DEMO: Let’s get that old roof off and let the decking breathe! Shingle shovels are used to take off the existing roofing system down to the decking (plywood).
- DECKING INSPECTION: Once the old roofing system is completely removed, the wood must be examined to determine if any of it needs to be replaced. Any pieces of wood that are rotten or have holes in them need to be replaced. There are other factors that may cause wood to need to be replaced, but these are the most common two.
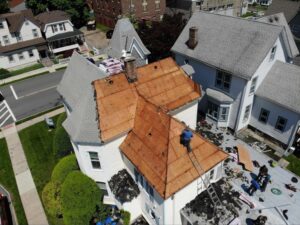
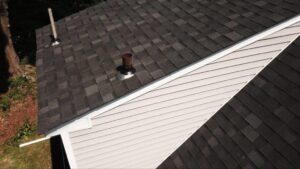
- STARTING THE ROOF: Once the decking is ready to go, it is time to get the roofing system started. Drip edge is installed to all edges of the roof (rakes and eaves). This prevents any precipitation from getting under the roofing system and lets water flow freely off the roof. The next thing to be installed is the ice and water underlayment along all eaves of the roof. These are the edges of the roof where water flows off and where gutters are placed. Ice and water underlayment is also applied to all pipe boots, valleys, and where the roof meets the siding. This is to be applied in compliance with state code. The rest of the roof is covered with synthetic underlayment. This is stapled to the roof as well as the ice and water underlayment.
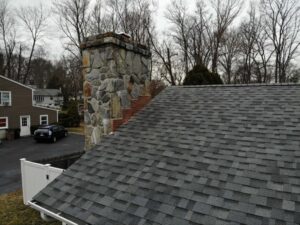
- SHINGLES AND SUCH: Now that everything is ready, it’s time for the shingles. A roof is installed from the bottom up, but that is not the only thing installed at this step. All pipe boots are replaced, and ridge vent is installed on all ridges of the house. This lets the roof breathe. All step flashing is replaced as well as brand-new copper chimney flashing.
- GUTTERS: If the homeowner wants gutters, this would be the time to install them, as well as gutter guards.
- CLEANUP: This goes hand in hand with property protection. A dedicated cleanup man will be responsible for making sure everything is just how it was before the roof was done. A magnetic sweeper is used to pick up all the nails, and everything is put into a dumpster on-site.
- ONE MORE LOOK: The last step in the roofing process is an inspection. Every part of the roof needs to be looked over and inspected for any flaws or mistakes. If this is the case, they are to be fixed right away. It is also a good idea to ask the homeowner how they think everything looks!